
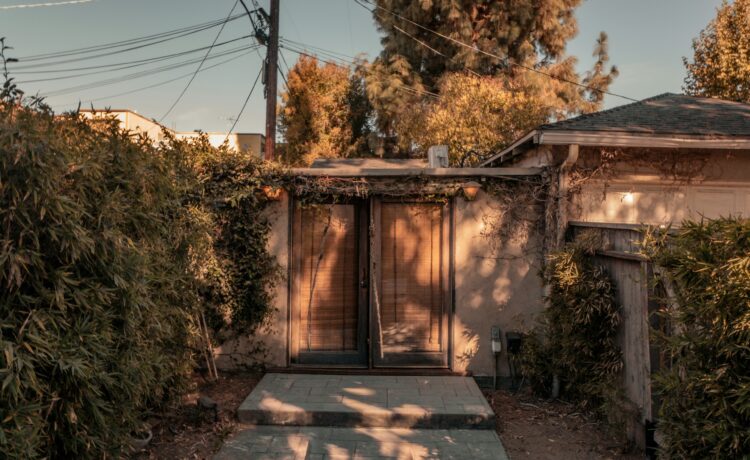
Backyard studios are sprouting up everywhere, and it’s easy to see why. These versatile spaces offer a unique blend of creativity and comfort right in the heart of your own yard. Whether you’re an artist looking for a peaceful workspace, a musician seeking sound isolation, or just someone wanting to escape the hustle of everyday life, a backyard studio can be your perfect sanctuary.
As more people embrace remote work and creative hobbies, the desire for personal space has surged. Imagine stepping out your back door into a world designed exclusively for you—a place where inspiration flows freely without distractions from home life. The journey to building this dream space may seem daunting at first, but with some thoughtful planning and design choices, transforming that empty corner of your yard into a cozy retreat is within reach. Let’s embark on this exciting adventure together!
Planning for your backyard studio Considerations and budgeting
explore this backyard studio guide requires careful thought. Start by determining how you intend to use the space. Will it be an art studio, a home office, or perhaps a cozy reading nook? This decision will guide many of your choices.
Next comes budgeting. Outline all potential expenses, from materials to permits and utilities. It’s easy for costs to add up quickly if you’re not careful.
Consider the size of your lot and local zoning regulations too. Some areas have restrictions on structures in residential zones. Researching these elements beforehand can save headaches later.
Don’t forget about access and utilities like electricity or plumbing if needed. These factors play a crucial role in overall comfort and functionality.
Think about future needs as well. A little extra investment now might save you from costly upgrades down the line!
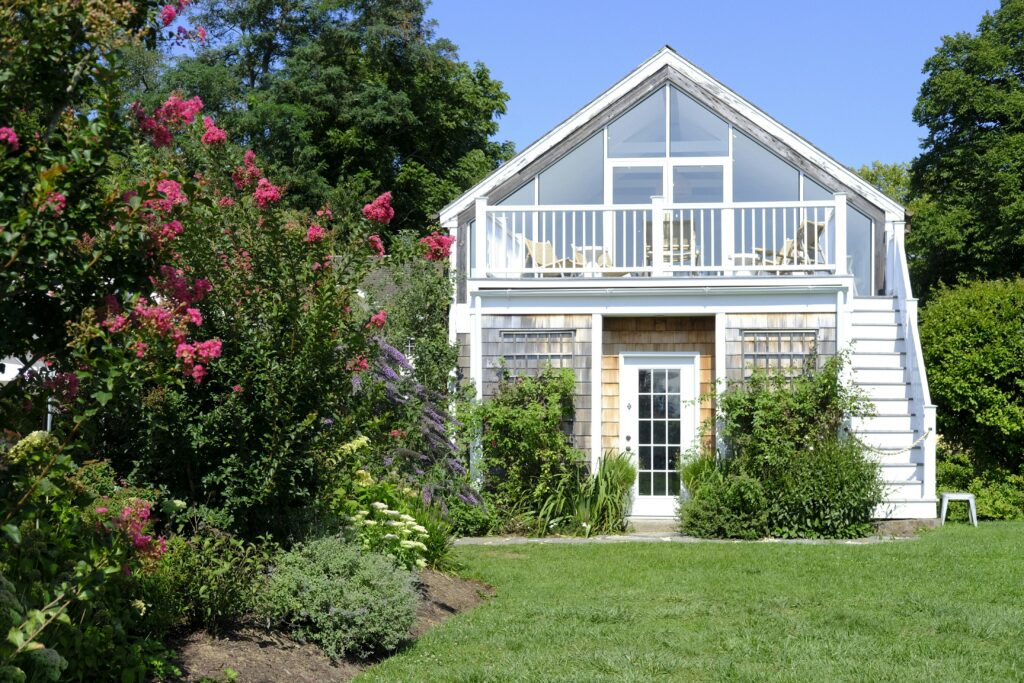
Designing your backyard studio Styles, sizes, and materials to choose from
When designing your backyard studio, the options are endless. Consider what style resonates with you. Do you prefer a modern minimalist look or a cozy rustic charm? Each design choice creates a different vibe.
Size matters too. Think about how much space you need for your activities. A small writing nook may only require 100 square feet, while an artist’s studio might benefit from more room to spread out.
Materials play a crucial role in aesthetics and durability. Wood can provide warmth and character, while metal offers a sleek contemporary finish. Don’t forget about insulation if you’ll be using it year-round.
Natural light is vital in any creative space. Large windows or skylights can enhance your environment significantly, making the area feel open and inviting.
The design should reflect your personality and purpose for this special retreat in your backyard.
DIY vs hiring a professional Pros and cons of each option
When considering your backyard studio, you face a choice: DIY or hire a professional. Each option has its own advantages.
Taking the DIY route can be incredibly rewarding. You have complete control over the design and materials. Plus, it’s often more budget-friendly if you’re handy with tools. The satisfaction of creating something from scratch is unmatched.
However, this path requires time and effort. Not everyone has the skills needed for construction tasks like electrical work or plumbing. Mistakes could lead to additional costs down the line.
On the other hand, hiring professionals ensures quality craftsmanship and compliance with local regulations. Their experience allows them to navigate challenges efficiently.
The downside? Professional services can be pricey, potentially stretching your budget thin. It also means relinquishing some creative control over your project, which may not sit well for those who envision every detail themselves.
Construction process Step-by-step guide to building your own backyard studio
The construction process for your backyard studio can be both exciting and daunting. With the right plan, you can transform your vision into reality.
Start by gathering all necessary permits from local authorities. This step may vary depending on where you live but is crucial to avoid any legal issues down the line.
Next, choose a location in your yard that offers enough space and privacy. Mark out the area clearly to visualize how much room you’ll need for construction.
After determining the ideal spot, it’s time to lay a solid foundation. You have several options here: concrete slabs offer durability while wooden bases provide flexibility with design changes later on.
Once your foundation is set, construct the frame of your studio using quality lumber or steel beams. Make sure it’s level and secure; this structure will support everything else.
With the framework complete, add walls next by either installing pre-made panels or building them from scratch using plywood or drywall as per your design choice. Don’t forget windows! They let natural light flood in and create an inviting atmosphere.
Now comes roofing—choose between various materials like shingles or metal based on style preferences and budget constraints. Ensure proper insulation during this phase so you can use it year-round comfortably.
Moving inside means handling electrical work if needed—this is often best left to professionals unless you’re confident in doing it yourself safely. Finish up with flooring choices that suit functionality: hardwood gives elegance while tiles are easy to maintain.
Decorate according to personal taste! Furnishings should reflect what activities you’ll do there, whether creative pursuits or relaxation after long days at work.
The journey of building a backyard studio takes effort but creates something meaningful—a personal escape right at home tailored just for you.


